
By default, every Pure Access tenant is automatically configured with a single area named “COMMON”. In this default state, every object in the tenant (groups, access points, users, schedules, etc.) is automatically added to the COMMON area.
Once another area is added to the system, anything created in the system will need to be explicitly designated to one of the existing areas upon creation/modification.
Creating an Area
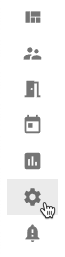
- Navigate to the Settings page from the left navigation bar.
![]()
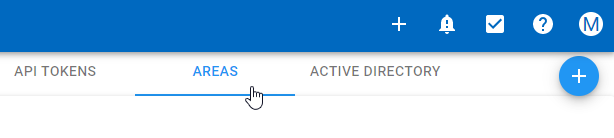
- Select the Areas tab.
![]()
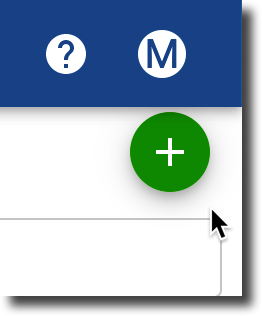
- Hover over the plus sign to reveal the menu. You may need to scroll to the right to see this menu.
![]()
- Click Create Area.
![]()
- Enter the name of the area and select the correct time zone. Then click the Next button.
![]()

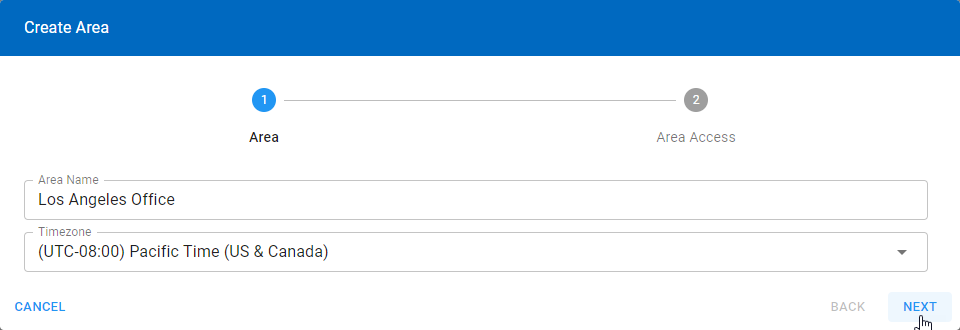
For the below example, we’ve created three new areas in addition to COMMON – Los Angeles Office, New York Office, and Security Center.

Assign Administrators to an Area
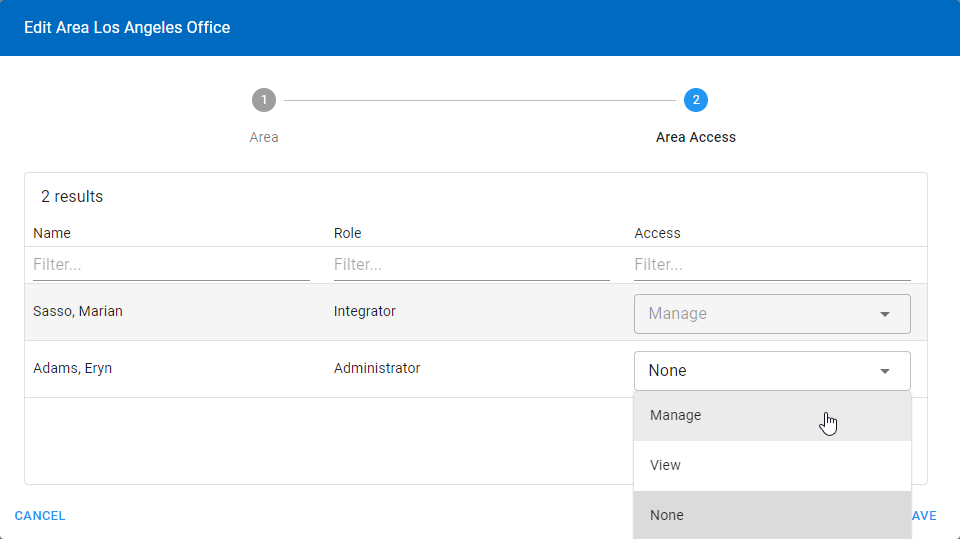
Administrators must be assigned to the area or areas of which they need to View or Manage the users, groups, schedules, rules, dashboards, etc.
- Click the
![]() next to the area you want to manage. Then click Manage Area Access.
next to the area you want to manage. Then click Manage Area Access.
![]()
- Choose the appropriate level of access next to the user you want to assign.
![]()
 next to the area you want to manage. Then click Manage Area Access.
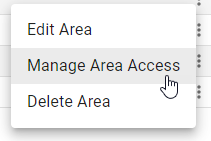
Last modified:
22 November 2024